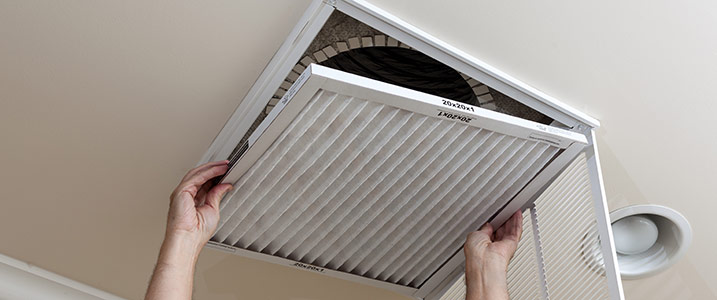
On some occasions, we are forced to modify the location of our air conditioning. Moving it around and relocating requires a series of steps that a professional must always carry out in cooling your home.
Why Do We Have To Move The Air Conditioning?
In the case that we propose, the problem stems from a bad installation of the air conditioning since it was located on one side of the room, next to a wall to its right and with a beam at the top to its left, with which a part of the one room cooled down. The other one did not, because a rebound of the air produced the cold air feedback in the area of the beam, the compressor stopped very often when the equipment had quickly reached the set temperature. Consequently, it is decided to reinstall the indoor unit and place it more in the wall’s center to improve performance. For air conditioner installation services, you can check out LK Brothers (https://lkbrothersaircon.com/services/aircon-installation/).
Pre-Checks Before Disassembling
The first thing to do before disconnecting anything is to check the pressure and the consumption of the equipment, we connect the low-pressure gauge (BLUE) to determine the pressure at which the equipment is working, and in the process, we will know if it lacks gas or not and we place the clamp meter to determine the consumption of the compressor. In this case, both parameters were low, denoting a slight lack of gas.
Refrigerant Gas Collection
Then we proceed to collect the refrigerant gas in the outdoor unit to reuse it later when undergoing the replacement service. We close with an Allen key, the high-pressure valve, compressor outlet (the smaller of the two, the one that does not have a service outlet), and start the equipment. It should work for approximately 2 to 3 minutes 5 maximum approximately. If we have the low-pressure gauge connected, it will indicate a vacuum in the circuit so that all the gas has been collected in the high part “just like when the equipment comes from the factory.”
Dismantling Of Pipes And Wiring
1st we disconnect the 220 V AC power supply. We can then remove the covers of the gutters and carefully unscrew the nuts from the pipes to disassemble them. It is advisable to place a few taps on the rocks at the ends of the indoor and outdoor units so that no dirt and moisture enter.
We tape the two valves of the outdoor machine so that moisture does not enter them, and we disassemble the 5-wire wiring between units.

